This page describes the steps to get up and running with the CHaMP Workbench software. All new users should perform these steps at least once to ensure that they have the latest reference CHaMP data and that the Workbench database is aware of where the topographic survey data are stored on their system.
Download the Workbench Software
- Check the downloads page to ensure that you have the pre-requisites installed.
- Download the Workbench software.
- Click the link to download the
setup.exefile. - Double click to run the
setup.exefile. This will install the Workbench software.
- Click the link to download the
Notes:
- Existing users can check for new versions and update the software at any time by choosing
Check For Updateson theHelpmenu in the Workbench Software. See the download page for more detailed instructions. - You do not need administrative privileges to install the Workbench software because it installs into your user profile folder and not the
C:\Program Filesfolder.
Create CHaMP Workspace
It is strongly recommended that you create a workspace for the data files related to the Workbench. This will be used as the home location for storing monitoring data as well as model inputs and outputs used by the Workbench software. This workspace should be a folder on your computer, preferably at a high level (i.e. not nested inside too many other folders) and with no spaces in the path. Note that if you use a folder on your desktop or a folder inside your Windows profile, you need to ensure that your Windows user name does not include any spaces or periods! The following workspace folder structure is recommended:
C:\CHaMP                      <- main workspace folder
C:\CHaMP\MonitoringData       <- Raw CHaMP monitoring data (topo & hydro files from [cm.org](https://champmonitoring.org))
C:\CHaMP\MonitoringDataZipped <- Download location for zipped data files from [cm.org](https://champmonitoring.org)
C:\CHaMP\InputOutputFiles     <- Model input and output files
C:\CHaMP\Temp                 <- Temp folder for model runs etc.
The Workbench possesses several features that help navigate and jump to data files on your computer and these features rely on this folder hierarchy. The Workbench will create and populate folders under MonitoringData and InputOutputFiles that mirror the CHaMP data structure (notablty, field seasons, watersheds, sites then visits). In other words, once you have downloaded several datasets your folder structure might look like:
C:\CHaMP
C:\CHaMP\MonitoringData
C:\CHaMP\MonitoringData\2011
C:\CHaMP\MonitoringDataZipped\2011\Asotin\ASW00001-CC-F1P2BR\VISIT_213\Topo\SurveyGDB.zip
C:\CHaMP\MonitoringDataZipped\2014\JohnDay\OJD03458-000534\VISIT_2645\Hydro\HydroModelResults.
zip
...
C:\CHaMP\InputOutputFiles
C:\CHaMP\Temp
Create a Workbench Database
- Launch the Workbench Software. The easiest way to do this is to press the Windows key () and then type
CHaMP. Your Windows start menu should filter to the CHaMP Workbench software with the blue CHaMP logo. Click the CHaMP Workbench item and the software will launch with no data loaded.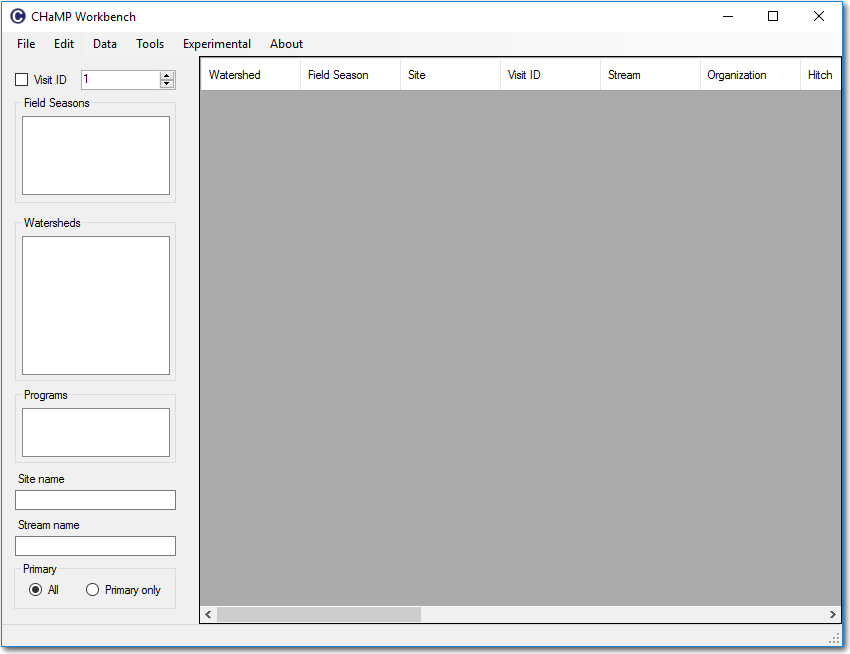
- Click on the File menu and choose Create New Workbench Database…
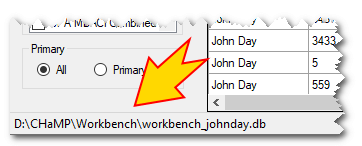
- Select your workbench workspace folder that you created in the step above. This will create a new workbench database and save it inside your workbench workspace. Note that the path of the current database is shown in the status bar at the bottom of the main window.
This database stores information about CHaMP watersheds, sites, visits and channel units. If you’re comfortable working with databases directly then you can open the workbench database directly using your preferred database software (e.g. SQLite Studio). Read the section on working with SQLite databases for more information.
Synchronize CHaMP Visit Information
The Workbench maintains a record of all CHaMP watersheds, sites, visits and channel units. Given that visits are occurring at CHaMP sites during the field season, the Workbench copy of these data can become stale, and so it’s important to refresh the contents of the Workbench database periodically. Outside of the field season you might refresh the database once a month, whereas during the field season you might perform this operation weekly.
Follow the steps on the Synchronize CHaMP Data page to refresh the contents of your Workbench database.
Download CHaMP Data
The champmonitoring.org site makes available all of the data collected in the field (both topo surveys and auxilliary measurements) as well as the results of most CHaMP modelling efforts. The workbench can download these data to your computer for selected visits.
Follow the download CHaMP data instructions to obtain the desired datasets.
Unpack the CHaMP Data
Most CHaMP data comes as a series of zip archives. Before you can use the data you have to unpack the various archives into the correct folders ready for use. The Workbench no longer includes a feature to unzip files. Instead, you can either unzip the downloaded files by hand (see note below), or you can use a simple Python script that was written specifically for this purpose.
Note: If you unzip the files by hand you should pay particular attention to the folder structure where you are placing files. It is strongly recommended that you unzip a files from the MonitoringDataZipped folder described above and place them in the same relative folder structure within the MonitoringData folder. In other words you should recreate the same, field season, watershed, site and visit folders for each zip file in the destination MonitoringData folder. This is fiddly and error prone which is why the Python script was written.
Start Work!
At this point the Workbench, database and folder structure are all in a state ready to be used. You can use the Workbench features to search for visits, run models etc. Or simply use the database to perform your own research. A good next step is to read the page on basic navigation and how to work with the main Workbench visit information.